Thursday 7 June 2012

18th Century Caracco Jacket

This is a little project I have been wanting to get off the ground since last October. So I just got up and got on with the draping of the toile this morning. The historical plate is from Janet Arnolds Patterns of Fashion 1 and it is the 1775 Caracco Jacket. I wanted to drape a Mantua as well but this little jacket ended up taking longer than expected as the two piece pattern was tricky to manipulate on the stand and I had to place it on the flat to extend out the skirts and pleats.

Below are the first photos of this process right up to the completed toile(pinned).
I have just made this to fit the mannequin without padding and I will now convert it to a paper pattern before making up in top fabric (as a sample so no further toile) and then hopefully find someone to fit and model it for me. I'm not sure on fabric choices at the moment as I have recently said I am not buying any more fabric over the Summer and must use up what is in 'the stash' thus saving money and clearing space. Its more about familiarising myself with the draping process and also construction/decoration then expensive silks. When I have clients who want to pay £50 a metre for their fabrics then I can enjoy the full luxury of such a garment, but until then the key word for this summer must be frugal.


First draping:


Laying on the flat to add skirts and pleats:


 Pinned back onto the mannequin before shortening the hem:
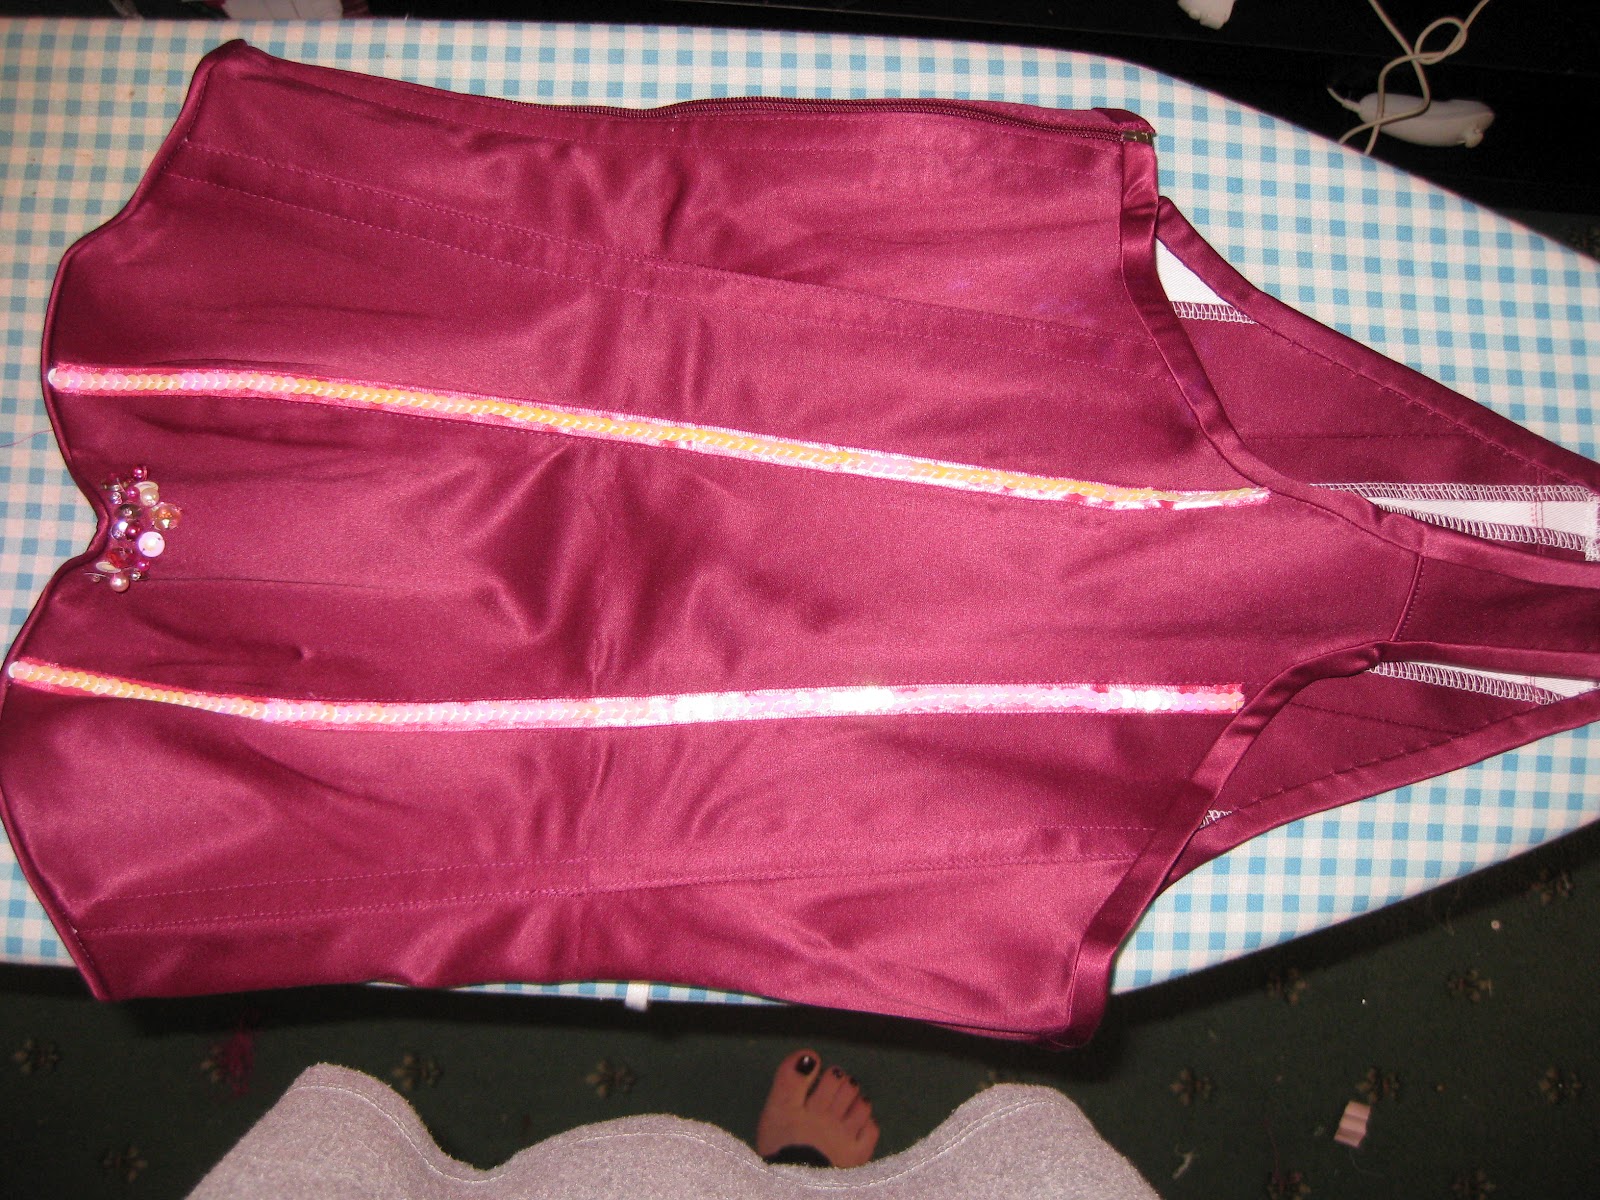


Finished toile:


The toile is not quite sitting right at the back as I have not put on a bum roll, I did add a bit of padding but once the correct underwear is in place then the jacket will sit correctly at the back.


So that is it for now, as mentioned the next step is to create a paper pattern from the calico toile and then choose some fabric.

Friday 1 June 2012

Ballet (nearly) Blanc

So whilst I'm on a roll here are the rest of the shots of the completed Self Directed Project aka' learning to make the pretties'.

There are infact a few petals still pinned rather than sewn down to the costume, and once again, stuck with a camera/backdrop/ lack of decent lighting that does not show the costume off to its full potential.

Even so, I have taken quite a few shots from different angles as well as taking some snaps of my decoration and sleeve samples.


Just a few photos!

I cant wait to get on and make up another bodice(draft a whole new pattern) and make some variations using different materials and shapes for the skirt.


My first challenge will be something like the wood nymph-y costumes seen here in a version of Sleeping Beauty. I just love them and any excuse to work in green.


Tease me, tease me, tease me baby...

Okay I'm going to wear out that  word long before I have finised talking about the Once Upon A Tease corsets.

We are actually finished. I have been so busy with the end of the academic year and this project for the last few weeks that I have neglected to post.

After a lot of hard work and some last minute changes to design decorations, the corsets were fnally finished and handed over for the professional shoot.

I didn't quite finish all the beading on mine and so one of the girls kindly completed it for me. It was hard to let go as I can be overly precious of my work(a perfectionist even) and so battled with my inner self by letting someone finish off my work. But this is a live project and as such there are deadlines to meet. Which means you do what you need to get done.

Overall the corsets looked really good and I'm so proud of the dedication and tenacity we showed as a group, through all the stages from the designing to the construction, budgeting, accessories and decoration and supervising of the project.

We have been accredited by the group and will recieve free tickets to the show as well as recieving copies of the professional photos for our portfolios.

I was really pleased that I was responsible for the patterns and supervising the adjustments that the girls made for them taking them through any problems. I certainly feel that I have come such a long way in this area in a year and my own challenging pattern worked very well- I have some photos of it being modelled by Melissa, who is not the intended body for the corset, but it fitted her well nonetheless.

Here are some more photos and I will post the professional shots once we recieve them.


The first few are photos from the fitting, I was not actually present, so one of the girls marked the alterations for me.


Melissa kindly modelling, it is not quite finished here, missing the back leg ruffles, gartes and additional beading, also the is some binding to finish off at he back by the laces.


(needs an iron!)


As I mentioned, I handed over to Kim to complete the beading, here is a picture she took of the corset tied onto a pillow. It gives some idea of the final piece, but hopefully there will be a better portfolio shot from the professional photos.