Costumier and Corsetiere working through the creative process and refining practice.
Showing posts with label Romantic Tutu. Show all posts
Monday, 1 April 2013
Wood Nymph: Finished
This tutu is finally complete and has been for its photo shoot and I am very pleased with the outcome....enjoy!
Friday, 20 July 2012
Romantic Tutu Skirt and Decoration
I am perservereing with this costume as I am getting closer to the decoration, which I'm really looking forward too.
I have finished layering the skirt and chose to level straight instead of ragged as I'm not entirely sure how its done propperly and would rather wait until I go back to Uni in October and ask the expert.
I have decided that the top layer will be cut into, however. This is because I want to expose the layers underneath and also because I found the chiffon hard to level straight and it is wonky in places. Also I noticed that even though I have barely touched it it already looks crumpled snagged and dirty in places! How, I have no idea, but its fast pitting me off as a fabric to use again in a hurry, I'll stick to net in the future.
In fact, part of the reason for using all different fabrics for each of the layes, was purely to see how they worked and handled in the tutu so that I build up a good knowledge of what is good and easy to work with and what is more of a struggle, which will keep informing my further choices in subsequent makes.
The chiffon was a pain, and shows any marks very easily, not good when sweating in performance, also i think after a few wears and catches/ snagging, it will look a mess- luckily though I have elected to chop away a lot of this layer.
I also had a chance to start playing with textiles in creating my decoration. I wanted to copy some techniques I have seen online on other ballet costumes so I printed off a line drawing of an ivy leaf; this costume deffinitely speaks dark forest to me so ivy seemed a good choice, and then cut out a backing and light wadding layer and appliqued on the top fabric. I tried glitter glue, gold leaf, expanding fabric paint, stitching and beading as well as metallic fabric paint to see the results (not all photographed) and some were good, and some were awful, but trial and error and all that.
I'm still not completely happy, they need to look delicate and not arts and craft and I'm not sure if there there yet. The bodice leaves will need to be at least half the size in the contrasting rusty colour to be delicate enough- I also have lots of beading to do on the bodice as well as the obligatory swarovski crystals. But this will all come as samples first.
Once I have chopped the top skirt and zig zag stitched the edges of the two chiffon layers to stop fraying then i will attach the skirt and bodice, ready for the decorating.
I can see the end, and its looking good, can't wait to get this costume on Sarah and get some good shots, I still have to think about a crystal tiara to match in and find a shoot location.
Busy, busy, busy.
That, and I'm already itching to start the next one.
Friday, 13 July 2012
Romantic Tutu- Green with Envy
So friends, I have been busy, busy, busy. I keep plugging away at this little beauty because what i really want to get to is the decoration.
There will be lots of delicate tulle flowers, beading and painting as well as applique, not to mention some bling crystal rhinestones.
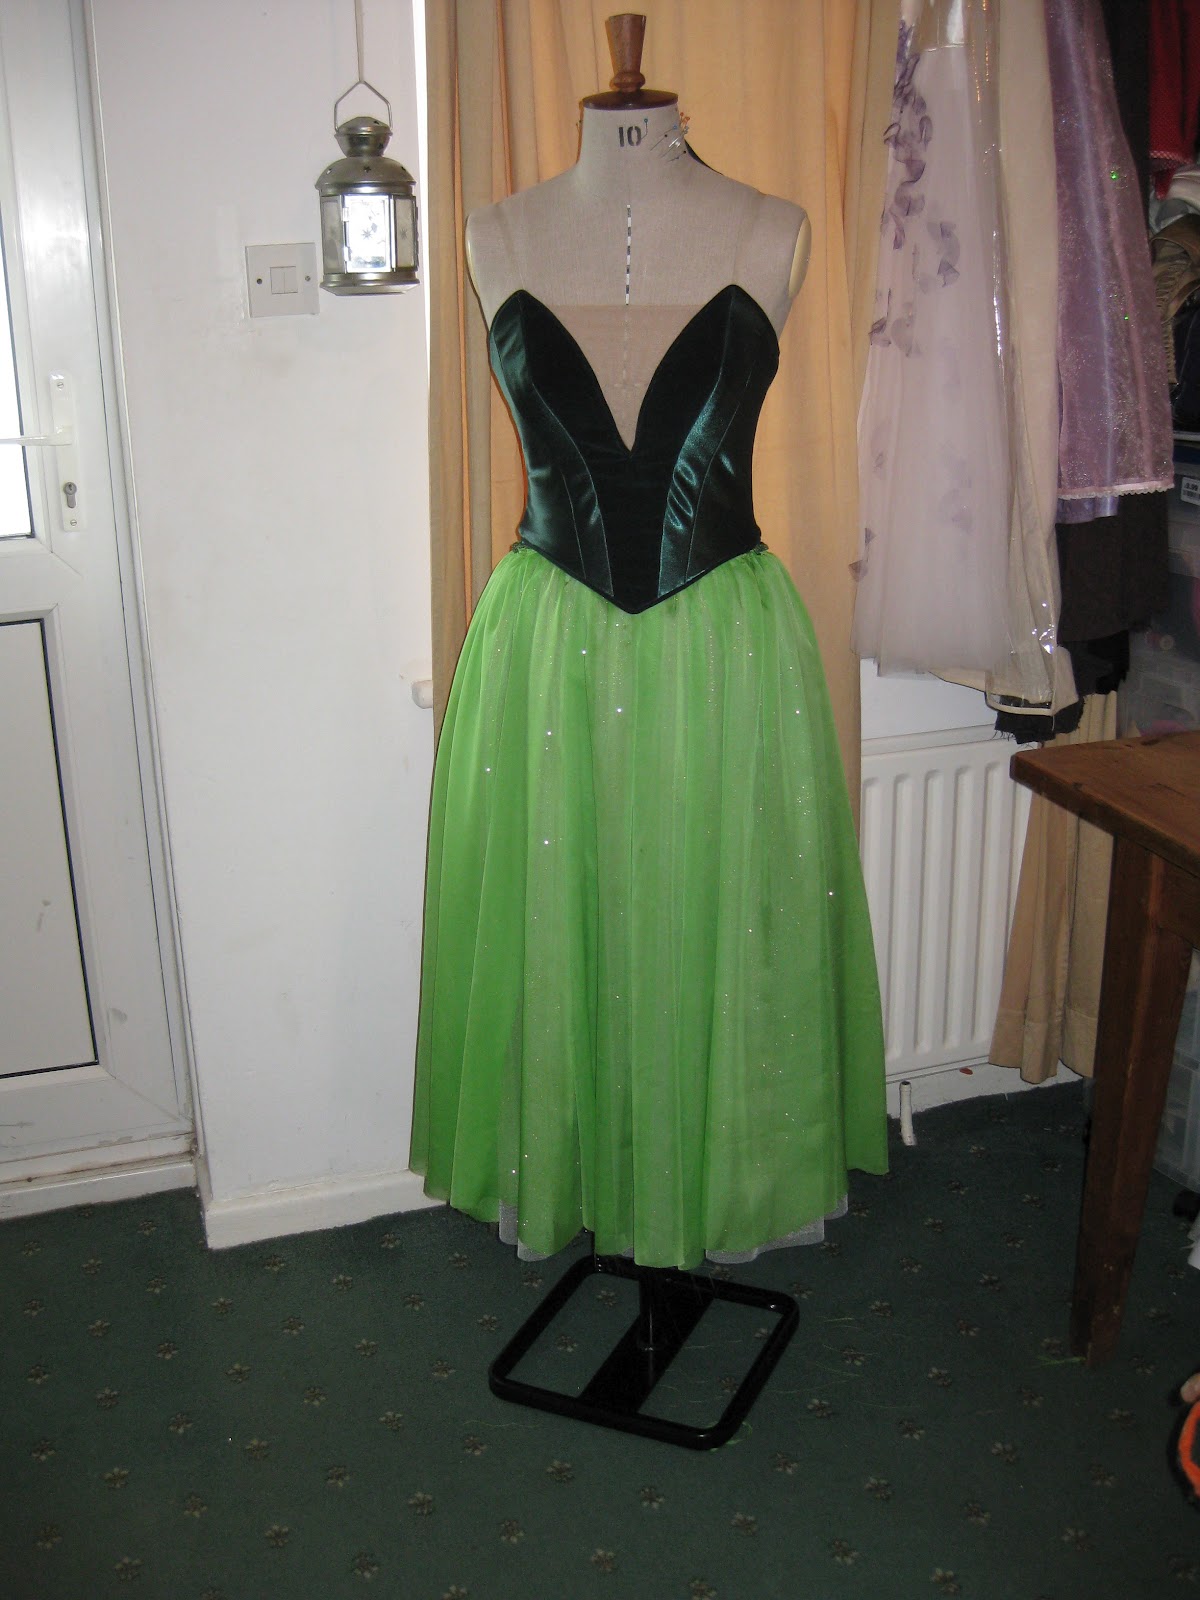
The bodice is done, bar a few more closures. The skirt is almost nearing completion and I have at this point only the top layer left to cut out and gather; the top layer has 13 panels!
I have used a different material and colour for each layer, firstly to get an idea of how the different fabrics work and also because I want the colour of the skirt to be constantly changing, depending on how much/where and what light it is under. It is my hope that the almost garish glitter tulle at layer 3 still glimmer slightly through the layers.
Here are some photos of the fabrics pre cutting. Its not a bad likeness to the real colours.
There is tulle and a silky chiffon.
So far the layers go from the bottom:
spun sugar colour net(this is lovely and would look fab on its own covering all 40+ panels).
glitter tulle (making a mess everywhere)
apple green chiffon ( a bit bright on its own but boy does if flow lovely, besides it will be tempered by the layers above it)
Teal tulle net ( somehow when i went back to the store i came out with a slightly different net that was not as good as the first lot. Too late now, but you wouldn't notice really)
Liquid gold chiffon (last to go on, will hopefully tone in with the bodice whilst still showing the greens through underneath.
No pictures of the teal layer yet. Next time it should all be finished. Then I need to sit down and work out how I level the hems when it needs to have a jagged edge like the original inspiration photo.
I have discovered that I enjoy the chiffon; I am needing to use a different method for joining the panels, not the same way as the net, but it does look beautiful. Next on the list is a full chiffon tutu!
I have so many ideas that I want to realise, I am already dreaming up the next costume. Thinking peasant- maybe Coppelia inspired.
Sunday, 1 July 2012
New Ballet Romantic Tutu In Progress
Okay, so its been a while since my last post, but in my defence I have been very, very busy.
In my last post on ballet where I was finishing up the white classic romantic tutu I spoke briefly about what I wanted to do next- well I have already started because I wanted to carry on with all the new skills fresh in my mind.
I am also really pleased to say that I secure a first grading for the ballet 'self directed project' which reflected how hard i worked.
But onwards! This is the image of the ROH Sleeping Beauty Act 2 Wood nymphs from where I gained my inspiration:
Now for some photos:
In my last post on ballet where I was finishing up the white classic romantic tutu I spoke briefly about what I wanted to do next- well I have already started because I wanted to carry on with all the new skills fresh in my mind.
I am also really pleased to say that I secure a first grading for the ballet 'self directed project' which reflected how hard i worked.
But onwards! This is the image of the ROH Sleeping Beauty Act 2 Wood nymphs from where I gained my inspiration:
And here is a link to a youtube clip of the same costumes in action:
I have already been fabric shopping locally, which means there was only a limited choice, but alas, London is expensive to get to from here. Still I came away with a cotton velvet and crepe back satin in a deep ivy green for the bodice and soft tulles in teal, cream with gold glitter and golden spun sugar. Also silky chiffons in apple green and caramel gold with a beautiful shot silk dupion in genn and gold for decoration.
Its a different colour pallette to the original but then I am only using the original as a starting point. To learn new skills I wanted to practise using the chiffon and I also like how the different layers work all together, giving different flashes of colour, especially as some of the layers of the skirt are cut shorter. I will get a photo of the fabrics soon to put up.
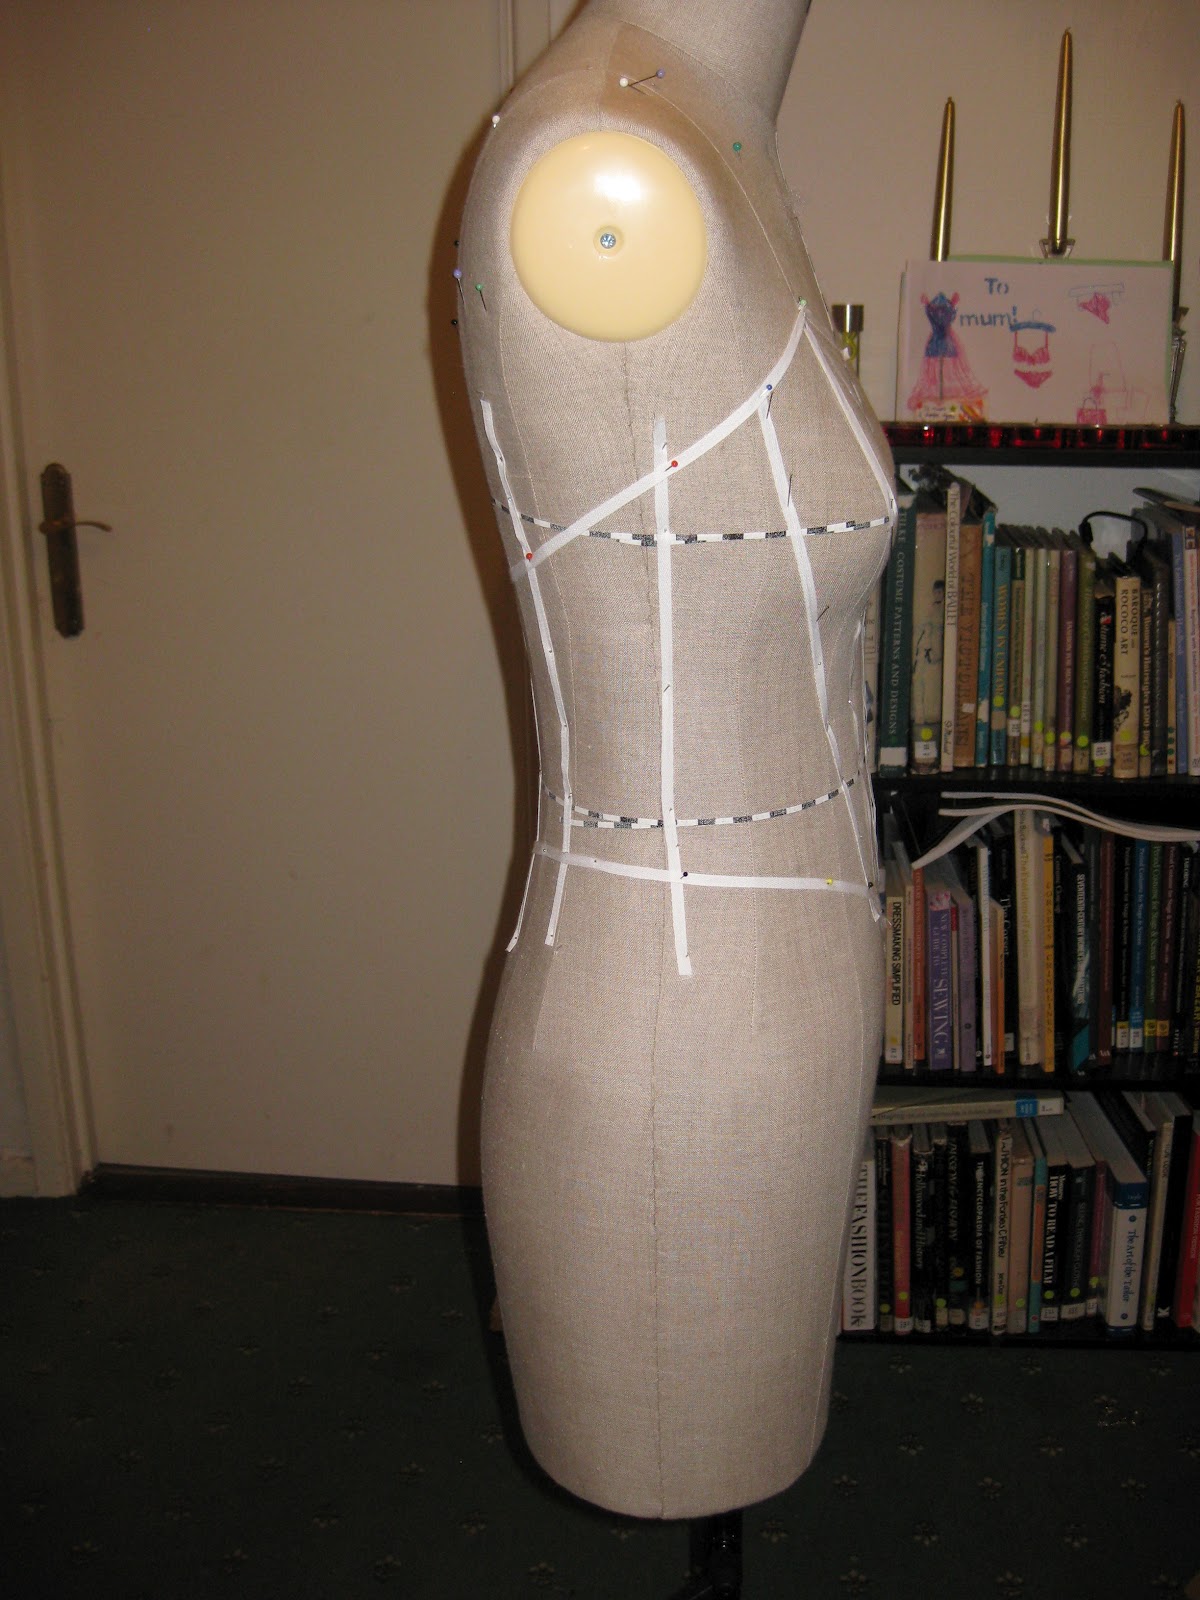
In the mean time I have mapped out the bodice, using different photos to guess at the shape and number of panels- I think I am close, but I cant be sure. Either way the bodice has come out a lovely shape with 6 panel per side and a modesty panel of skin tone powernet will be added across the front after the bodice is complete.
Now for some photos:
The bodice is coming together really quickly- much quicker than the white tutu, and I am currently handsewing in the bones. once I have done this all I need to do is the piping and the back closures and I am ready to start the basque and the skirt layers. I am going to decorate towards the end and then put in the powernet at the front of the bodice- should have some more photos up soon.
I have also applied for woork experience at the Royal Opera House in the women's workroom, so fingers crossed for that.
Subscribe to:
Posts (Atom)